Try Sprouted!
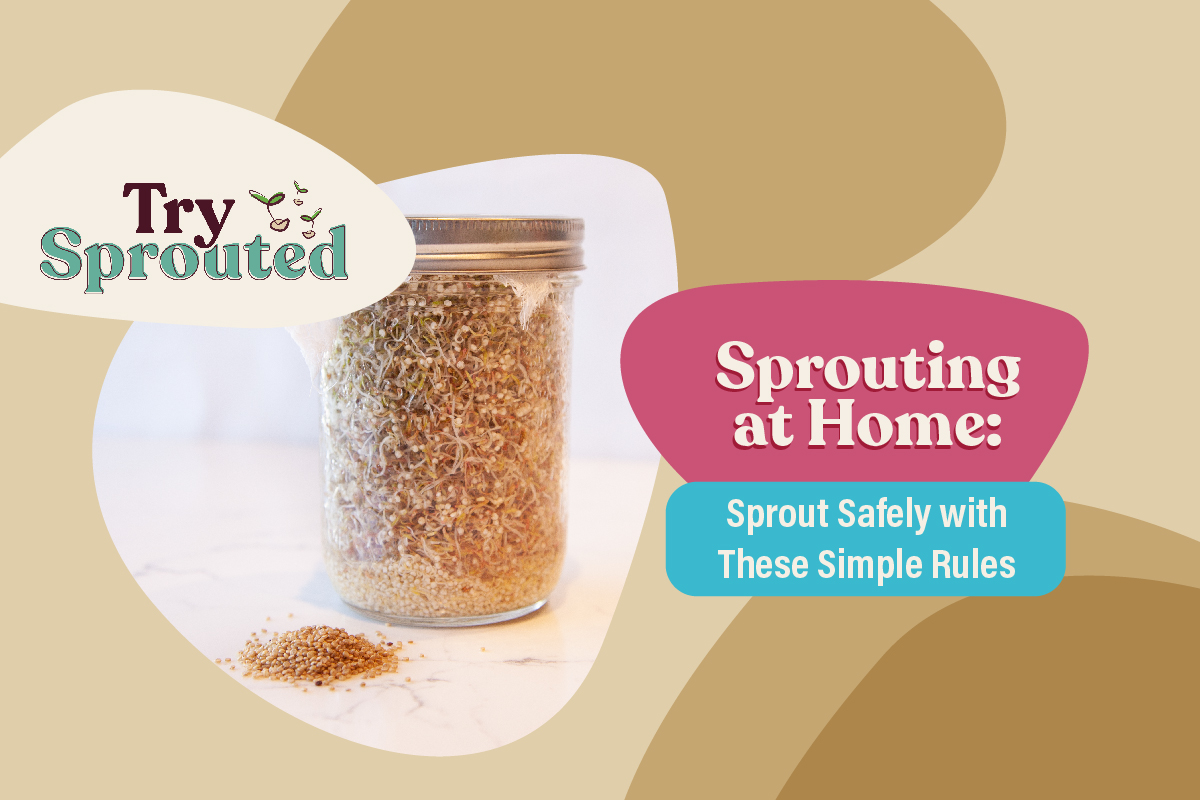
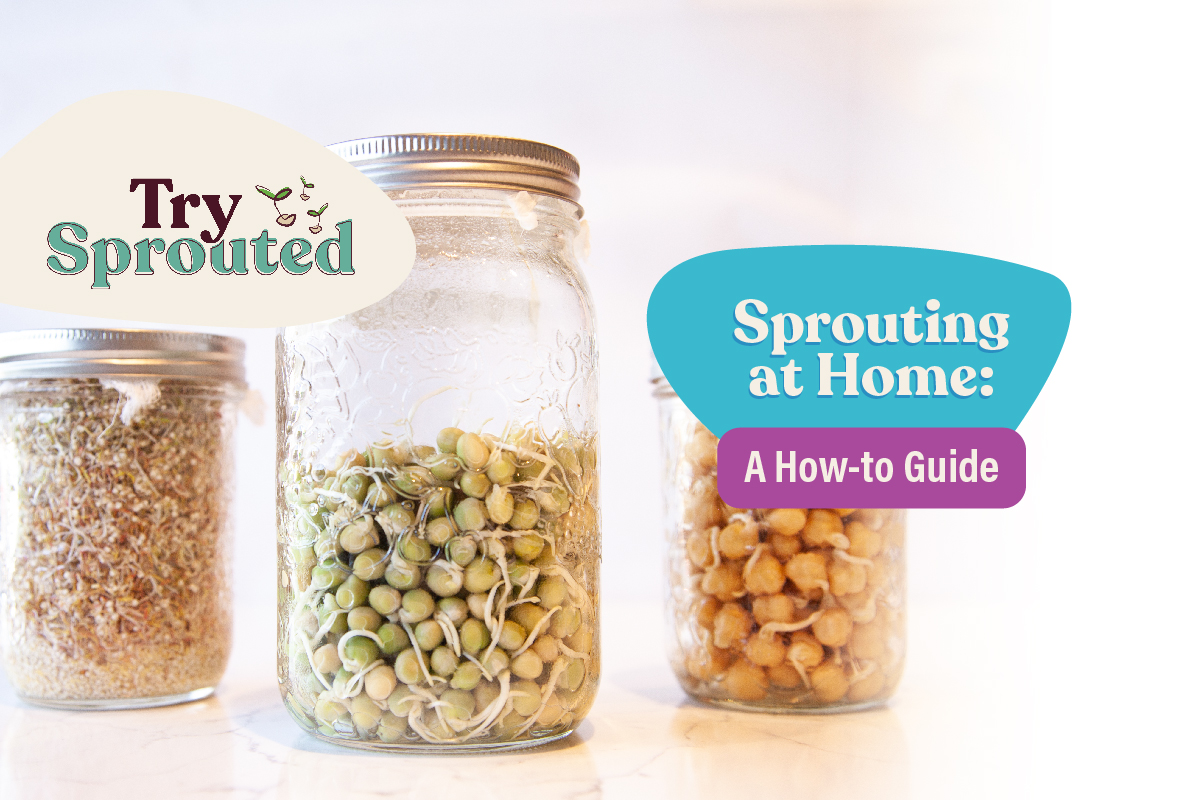
Article Sprouting at Home: A How-to Guide

How to Sprout at Home:
Your Guide to Sprouting Whole Grains, Seeds—and More!
Learning how to grow sprouts at home is easy—and it’s a budget-friendly way to add nutrient dense, plant-based goodness to your plate, any season of the year.
Once you’re familiar with the 7 Basic Rules for Sprouting at Home, the process is simple.
From wheat berries to broccoli seeds, almost every whole grain or seed you can sprout at home follows these two steps:
How long you soak, how long it takes to sprout—and how many cups of sprouts you get from a surprisingly small volume of seeds—varies depending on what you’re sprouting.
Read the rest of our handy Sprouting at Home How-to Guide to learn what tools you need and which seeds, beans, peas, lentils, and whole grains are best to sprout at home.

Sprouting Tools:
Everything You Need to Grow Sprouts at Home
Like most things in the kitchen, there’s a range of ways to achieve the same results. What tools you choose usually depends on how much you want to spend, and how much space you have in your kitchen for single-purpose stuff!
Luckily, dabbling in the satisfying world of sprouting is about as cheap and cheerful a kitchen experiment as it gets. All you need to get started:
That’s it!
Sure, there are special mason jar lids for sprouting, from mesh toppers to pair with a wide mouth jar ring, to all-in-one plastic options. And serious home sprouters sometimes choose stacking trays designed for sprouting.
But as long as you keep your tools clean and use a fresh square of cheesecloth for each batch you sprout, you can sprout as much and as often as you want with the simplest set-up there is.
Sprout at
Home Tip:
You don’t need fancy fold-up mason jar stands to drain your sprouts after rinsing—a dish rack does the job of hands-free draining perfectly. (And you probably already have one in your kitchen!)
What to Sprout?
How Long to Soak and Sprout Whole Grains, Seeds, Legumes and Lentils (Plus Seed-to-Sprout Volumes)
Our list of 11 seeds, grains, legumes, and lentils are far from the only ones you can sprout at home.*
But they are the most beginner-friendly varieties to grow in a mason jar, the best to enjoy fresh in sandwiches or salads—and the easiest to find at your local natural grocery store, too!

Beginner-friendly Whole Grains to Sprout at Home

Red Spring Wheat
Soak Time
6 – 12 hours
Sprout Time
2 – 3 days
Store Time
5 – 7 days
Yield
1 Tbsp = 1/3 cup
Tip: For softer wheat berries, soak for 24 hours instead of sprouting. Unlike other sprouted seeds that are best enjoyed fresh, soaked wheat berries freeze well for use in hot breakfast cereals or smoothies. Sprout a day or two longer for a sproutier experience.

Spelt Kernels
Soak Time
6 – 12 hours
Sprout Time
2 – 3 days
Store Time
5 – 7 days
Yield
1 Tbsp = 1/3 cup
Tip: This photo shows spelt at the stage we sprout our grains to when making bread, or when adding spelt or wheat berries to salads. For a sproutier experience, sprout a day or two longer.

Quinoa
Soak Time
2 – 4 hours
Sprout Time
2 – 3 days
Store Time
7 – 10 days
Yield
1 Tbsp = 1/2 cup
Beginner-friendly Seeds to Sprout at Home

Alfalfa
Soak Time
4 – 8 hours
Sprout Time
4 – 5 days
Store Time
5 – 7 days
Yield
1 Tbsp = 3 cups

Clover
Soak Time
4 – 8 hours
Sprout Time
4 – 5 days
Store Time
5 – 7 days
Yield
1 Tbsp = 3 cups

Radish
Soak Time
4 – 6 hours
Sprout Time
4 – 5 days
Store Time
5 – 7 days
Yield
1 Tbsp = 3 cups
Tip: Radish sprout roots can get fuzzy (this hairy white texture is not mould!). Rinse well and often while sprouting.

Broccoli
Soak Time
2 – 3 hours
Sprout Time
4 – 5 days
Store Time
5 – 7 days
Yield
1 Tbsp =
1 cup
Tip: Drain well and note the short soak! Brassicas like broccoli can develop fuzzy roots (see radish tip)
Beginner-friendly Legumes and Lentils to Sprout at Home

Chickpeas
Soak Time
6 – 8 hours
Sprout Time
1 – 3 days
Store Time
5 – 7 days
Yield
1 Tbsp = 1/3 cup
Tip: Rinse often while sprouting. Chickpea sprouts are ready when they have a short tail, as early as 12 hours after soaking. Longer sprout times can cause chickpeas to develop a musty flavour (Avoid sprouting beyond 3 days).

Green Peas
Soak Time
4 – 8 hours
Sprout Time
2 – 3 days
Store Time
5 – 7 days
Yield
1 Tbsp = 1/3 cup

Lentils
Soak Time
4 – 8 hours
Sprout Time
2 – 3 days
Store Time
5 – 7 days
Yield
1 Tbsp = 1/3 cup
Tip: Split red and yellow lentils (the quick-cooking kind used for soups and dahl) don’t sprout as well as firmer types like green, brown, French, crimson, or black lentils.

Mung Beans
Soak Time
6 – 8 hours
Sprout Time
2 – 3 days
Store Time
5 – 7 days
Yield
1 Tbsp = 1/3 cup
Tip: Mung beans are best sprouted in the dark!
(Sprouting in the dark helps mung bean sprouts develop a thicker, crunchier white sprout—so, stash your sprouting jar in a cupboard between rinses!)
*
Sprouting some seeds—including gelatinous seeds like chia, flax, or arugula—call for special set-ups beyond the scope of the simple mason jar method.
And some sprouted beans—like kidney and cannellini—are only safe to eat fully cooked.
When you expand your sprouting repertoire beyond our beginner-friendly list, reputable suppliers—like fellow Canadian family business Mumm’s—will include variety-specific instructions for sprouting and safety.
Up Next in Try Sprouted!
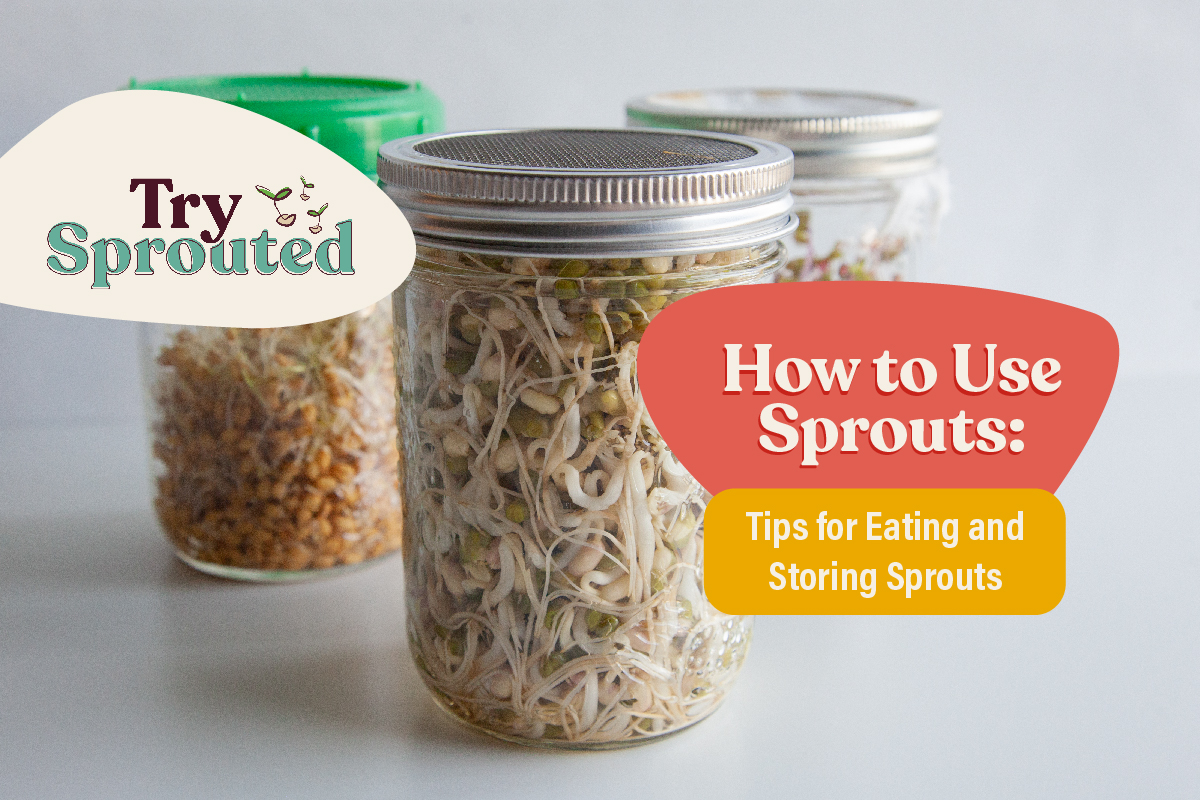
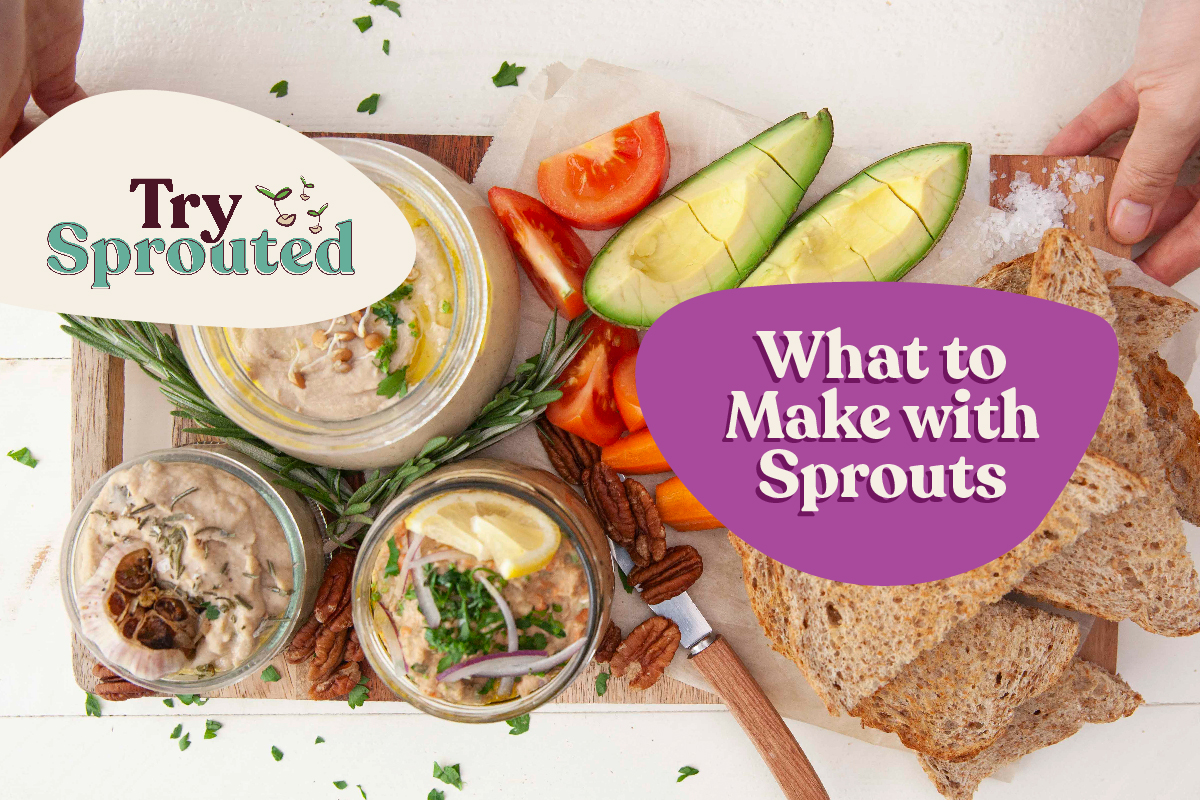
Our 7 Basic Rules for Sprouting at Home and Sprouting at Home How-to Guide are just the starting line of your sprouting journey. Learn how to use and store your sprout harvest, and what to make with sprouts in the rest of our Try Sprouted collection!
Silver Hills Bakery’s Sprouted Education Series:

What?
Part 1: The WHAT of Sprouted Whole Grains

Why?
Part 2: The WHY of Sprouted Whole Grains

Try!
Part 3: Now TRY Sprouted Whole Grains