Article Sprouting 101
5 Easy Steps to Growing Sprouts at Home
July 07, 2015
Sprouts add a delightful crunch and flavour to salads, sandwiches and more, but did you know that they also have numerous health benefits? Packed with vitamins, nutrients and enzymes, sprouts can be purchased in virtually any market or grocery store, but why do that when they are easy and affordable to make at home? All it takes is a little patience and a few supplies and you’re on your way to DIY sprouting.
What to sprout
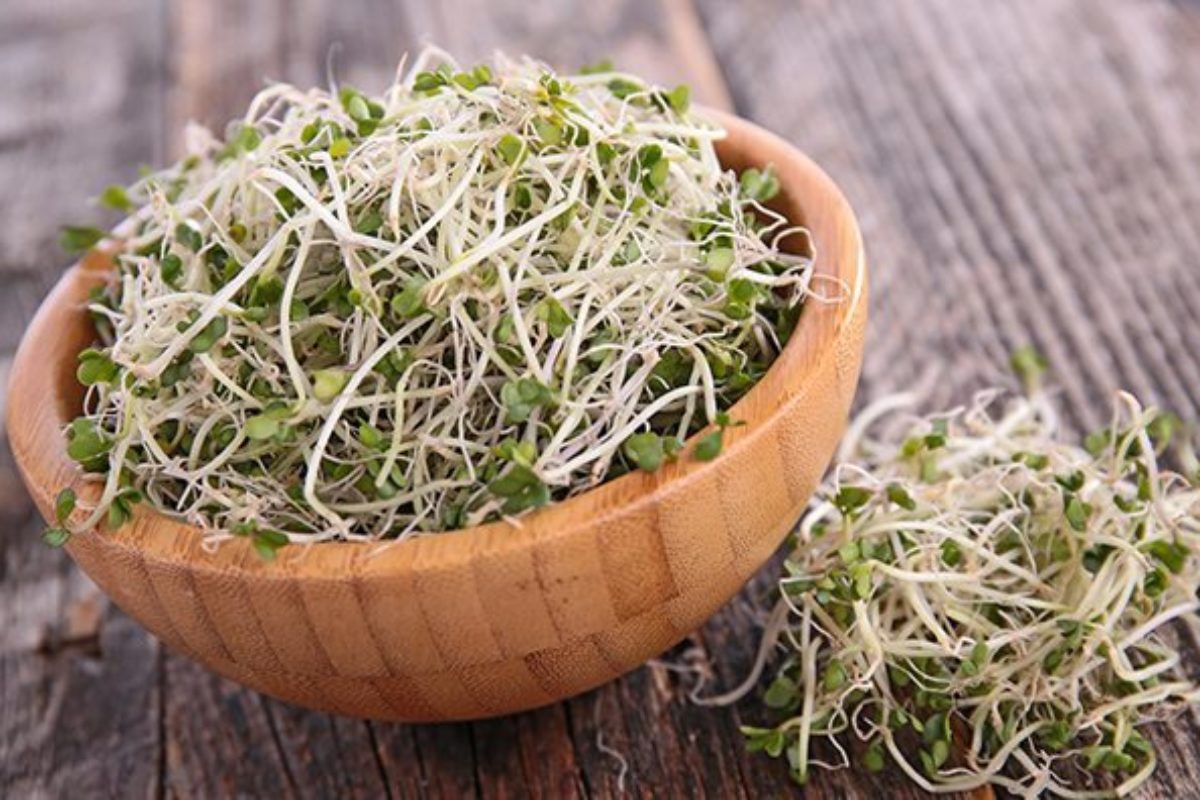
Wondering what you can sprout at home? You have plenty of options according to your flavour preferences. Most seeds, legumes, grains and some nuts will sprout. Popular sprouts include lentils, alfalfa seeds, sunflower seeds, chickpeas, mung beans and soybeans. You can buy pre-made sprouting mixes in stores or online, or purchase dried seeds, beans or legumes in bulk. Be aware that some nuts won’t sprout if they have been pasteurized or treated.
How to use sprouts
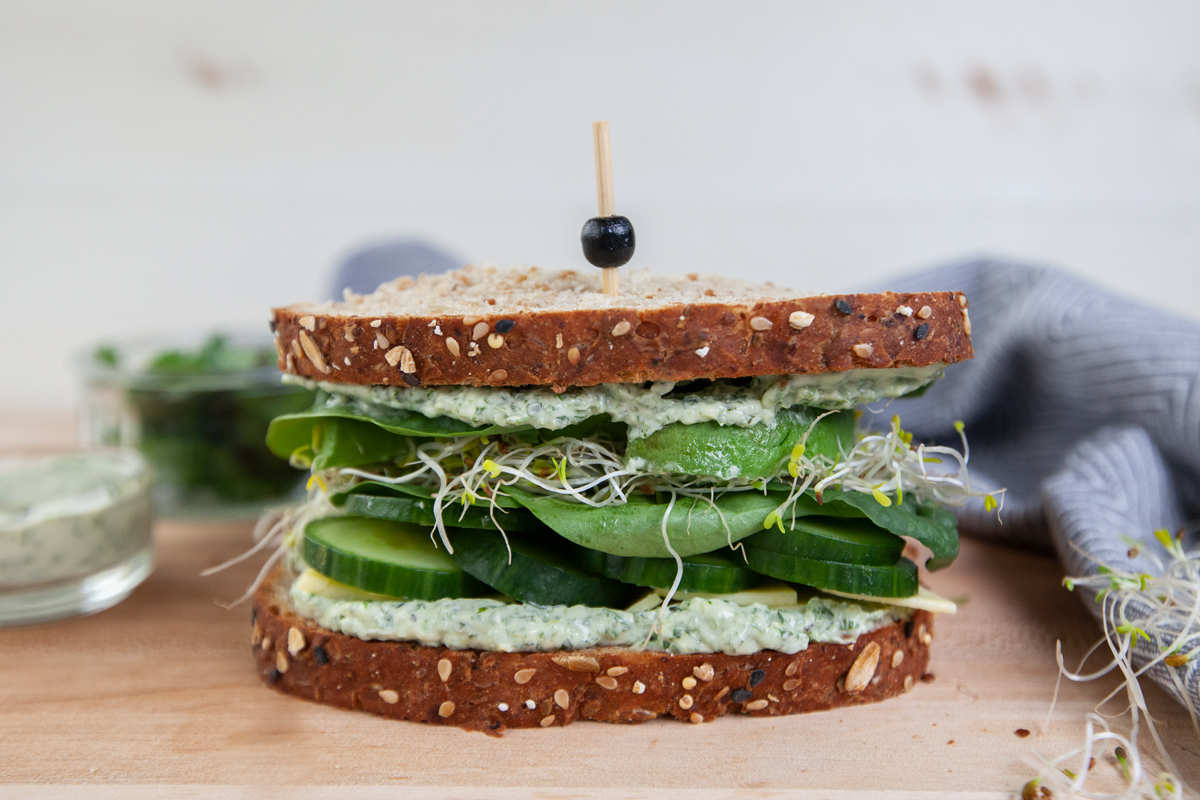
Eat sprouts on their own (sprouted peanuts are a delicious snack!), on crackers with your favourite spreads, sprinkled onto salads, or layered inside your sandwiches. Grains and legumes can also be cooked after sprouting. They’ll not only cook quicker than their dried counterparts, but they are also much easier to digest and taste much better too.
Scroll down to the similar articles section below for recipes using sprouts!
Get sprouting in 5 easy steps
Ready to try your hand at sprouting? Here’s how to do it:
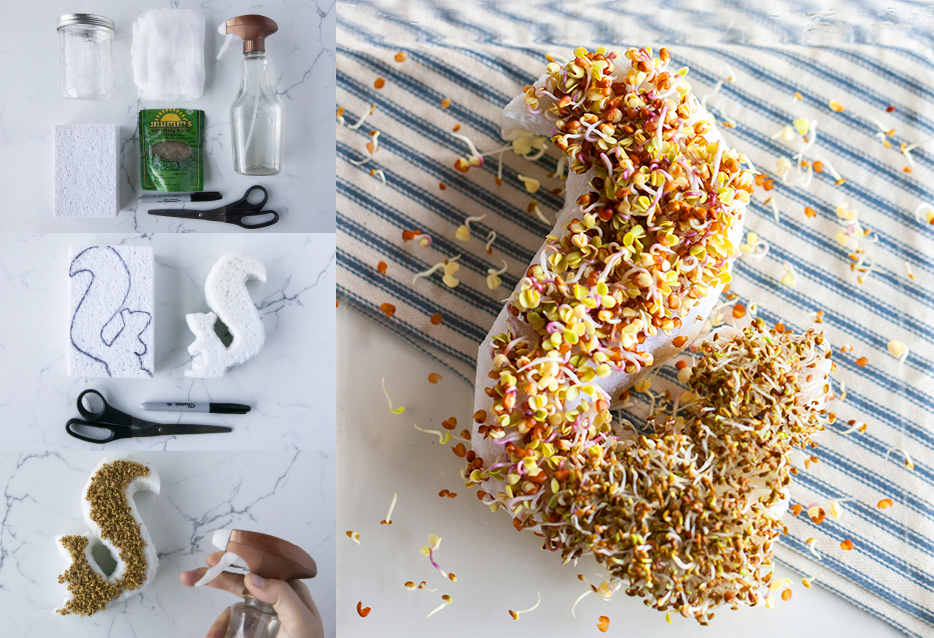
- Build or purchase a sprouter: Buy a sprouter or make your own using a large glass jar with a lid. Drill small, 3mm holes in the lid or, instead of a lid, use a piece of cheesecloth or cotton stretched over the jar and secured with an elastic band.
- Start the sprouting process: Place about ½ a cup of your seeds or beans in the bottom of your jar and soak them in 2 cups of water for 12 hours. You can experiment with a mix or just one variety.
- Rinse your seeds or beans and drain: Room temperature water works best. To drain, simply pour the liquid out of the jar through the holes or fabric, leaving some moisture behind.
- Repeat the rinsing process at least every 12 hours until the sprouts are ready: Your sprouts will grow and likely fill your jar once the process is complete, usually within 2-4 days.
- Enjoy your sprouts! Eat them right away or store them in a bag in the fridge, where they will stay fresh for about a week.
learn more about sprouted whole grains
Explore the science and art of sprouting to learn why sprouted whole grain bread is a better-for-you choice for your family. Get recipes, tips—and get the soaking and sprouting times for 11 seeds, grains, and legumes—in our FREE Why Sprouted Handbook! Sign up to get your copy of Why Sprouted today!